
Disinfection and Sterilization
Comprehensive Nursing Study Notes
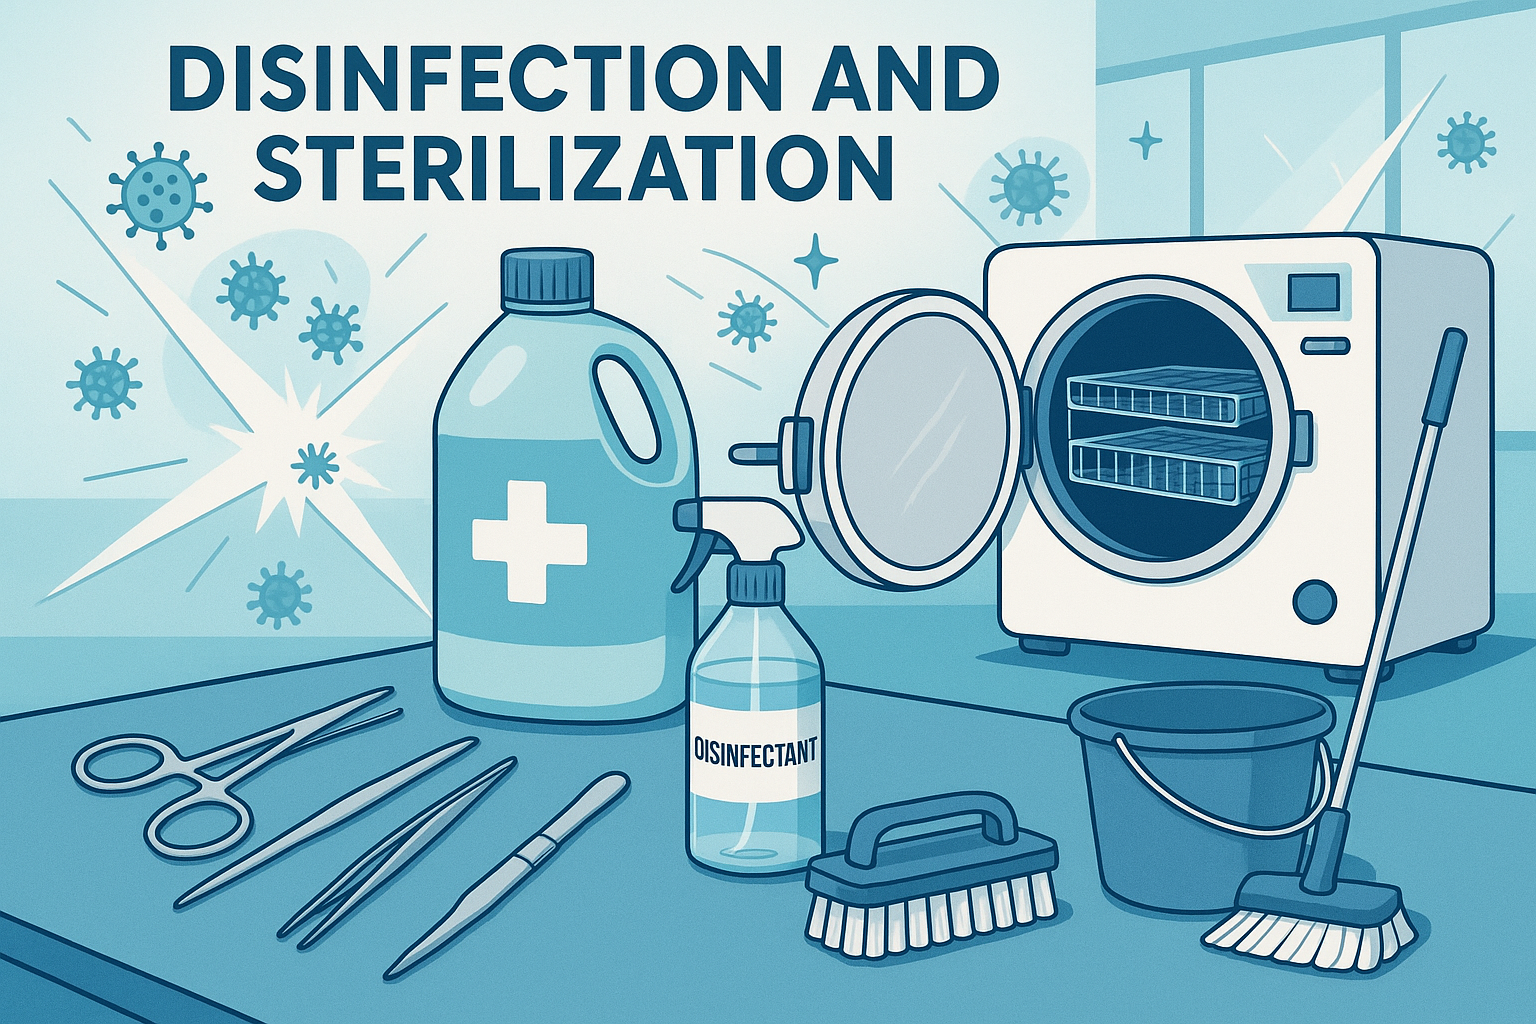
Table of Contents
1. Definitions
Core Concept
Understanding the fundamental differences between cleaning, disinfection, and sterilization is crucial for safe nursing practice and infection prevention.
Essential Definitions
Cleaning
The physical removal of visible soils, organic and inorganic material from surfaces. This process removes approximately 80% of microorganisms but does not necessarily destroy them. It’s the essential first step before disinfection or sterilization.
Disinfection
The process that eliminates most pathogenic microorganisms, except bacterial spores, on inanimate objects. It reduces the number of viable microorganisms to a level that does not pose a threat to health.
Sterilization
The complete elimination or destruction of all forms of microbial life, including bacteria, viruses, spores, and fungi. This is the highest level of microbial killing achievable.
Antisepsis
The application of liquid antimicrobial agents to living tissue to reduce microbial flora. Unlike disinfection, antisepsis is used on living tissue and aims to prevent infection rather than eliminate all microorganisms.
Memory Aid: CDS
Cleaning – Disinfection – Sterilization
Think: “Clean Dishes Sparkle” – Each step increases the level of microbial reduction!
2. Types of Disinfection and Sterilization
Levels of Disinfection
High-Level Disinfection
Kills all microorganisms except high numbers of bacterial spores
Examples: Glutaraldehyde, Hydrogen peroxide
Intermediate-Level Disinfection
Kills vegetative bacteria, fungi, and most viruses
Examples: Alcohol, Phenolic compounds
Low-Level Disinfection
Kills most vegetative bacteria and some viruses
Examples: Quaternary ammonium compounds
Types of Sterilization Methods
Heat Sterilization
- Steam Sterilization (Autoclave): 121°C for 15 minutes or 134°C for 3 minutes
- Dry Heat: 160°C for 2 hours or 170°C for 1 hour
- Flash Sterilization: 132°C for 3 minutes (unwrapped items)
Chemical Sterilization
- Ethylene Oxide (EO): Low temperature, long exposure time
- Hydrogen Peroxide Plasma: Low temperature, environmentally friendly
- Peracetic Acid: Rapid action, sporicidal
Radiation Sterilization
- Gamma Radiation: Industrial sterilization
- Electron Beam: Rapid processing
- UV Light: Surface sterilization only
Filtration
- HEPA Filters: Air sterilization
- Membrane Filters: Liquid sterilization
- Depth Filters: Removing larger particles
Sterilization Method Selection Flowchart
3. Environment Cleaning
Critical Concept
Environmental cleaning is the foundation of infection prevention. A clean environment reduces the bioburden and creates conditions that support effective disinfection.
Environmental Cleaning Principles
High-Touch Surfaces
- Bed rails and overbed tables
- Door handles and light switches
- Toilet seats and grab bars
- Nurse call systems
- IV poles and medication carts
- Computer keyboards and monitors
Cleaning Frequency
- Daily: Patient rooms and common areas
- Between patients: All patient care areas
- After spills: Immediate cleaning and disinfection
- Weekly: Deep cleaning of all areas
- As needed: Visible contamination
Environmental Cleaning Protocol
| Area Type | Cleaning Method | Disinfectant | Contact Time |
|---|---|---|---|
| Patient rooms | Damp dusting, mopping | EPA-registered disinfectant | As per label |
| Isolation rooms | Enhanced cleaning protocol | Sporicidal if C. diff | Extended contact time |
| Operating rooms | Terminal cleaning | Intermediate-level disinfectant | Manufacturer’s recommendation |
| Bathrooms | Disinfectant cleaning | Broad-spectrum disinfectant | Minimum 1 minute |
Memory Aid: CLEAN
Check for visible contamination
Location matters (top to bottom)
Equipment ready (proper PPE)
Apply cleaning solution
Notify if problems found
4. Equipment Cleaning
Equipment Processing Steps
Point of Use
Immediate cleaning at bedside
Transport
Safe transport to processing area
Cleaning
Thorough cleaning and inspection
Disinfection
Appropriate level of disinfection
Storage
Proper storage until use
Equipment Categories and Processing
Critical Items
Items that enter sterile tissue or vascular system
Processing: Sterilization required
Methods: Steam sterilization, EO, hydrogen peroxide plasma
Semi-Critical Items
Items that contact mucous membranes or non-intact skin
Processing: High-level disinfection minimum
Methods: Glutaraldehyde, hydrogen peroxide, peracetic acid
Non-Critical Items
Items that contact intact skin only
Processing: Low-level disinfection
Methods: Alcohol, quaternary ammonium compounds
Special Equipment Considerations
| Equipment Type | Special Considerations | Processing Method | Frequency |
|---|---|---|---|
| Electronic devices | Moisture sensitivity | 70% isopropyl alcohol wipes | Between patients |
| Reusable medical devices | Complex design | Manufacturer’s instructions | After each use |
| Shared equipment | Multiple patient use | Intermediate-level disinfection | Between patients |
| Mattresses and pillows | Fluid-resistant covers | EPA-registered disinfectant | Between patients |
Nursing Implementation: Equipment Processing
- Always wear appropriate PPE during equipment processing
- Follow manufacturer’s instructions for cleaning and disinfection
- Ensure adequate contact time for disinfectants
- Document equipment processing when required
- Report damaged or difficult-to-clean equipment immediately
- Maintain equipment tracking logs for high-risk items
5. Guides on Use of Disinfectants
Key Principle
Effective disinfection requires proper selection, preparation, application, and contact time. Remember: disinfection is not sterilization, and proper cleaning must precede disinfection.
Common Disinfectants and Their Properties
Alcohol (70% Isopropyl)
Spectrum: Broad-spectrum, fast-acting
Uses: External surfaces, skin antisepsis
Advantages: Rapid action, non-staining
Disadvantages: Evaporates quickly, flammable
Contact time: 30 seconds minimum
Chlorine Compounds
Spectrum: Broad-spectrum, sporicidal
Uses: Surface disinfection, water treatment
Advantages: Inexpensive, effective
Disadvantages: Corrosive, chlorine odor
Contact time: 1-10 minutes
Quaternary Ammonium
Spectrum: Limited, mainly vegetative bacteria
Uses: Routine environmental cleaning
Advantages: Non-corrosive, pleasant odor
Disadvantages: Narrow spectrum, inactivated by soap
Contact time: 5-10 minutes
Phenolic Compounds
Spectrum: Broad-spectrum, tuberculocidal
Uses: Environmental surfaces, equipment
Advantages: Residual activity, stable
Disadvantages: Potential toxicity, strong odor
Contact time: 10 minutes
Hydrogen Peroxide
Spectrum: Broad-spectrum, sporicidal
Uses: Surface disinfection, sterilization
Advantages: Environmentally friendly, rapid action
Disadvantages: Unstable, can bleach
Contact time: 1-30 minutes
Peracetic Acid
Spectrum: Broad-spectrum, sporicidal
Uses: High-level disinfection, sterilization
Advantages: Rapid action, no toxic residue
Disadvantages: Corrosive, unstable
Contact time: 15-30 minutes
Disinfectant Selection Criteria
Selection Decision Tree
Proper Disinfectant Use Protocol
Before Use
- Read the product label completely
- Check expiration date
- Verify EPA registration number
- Ensure proper PPE is available
- Prepare solution according to instructions
- Test pH if required
During Use
- Clean surfaces before disinfection
- Apply disinfectant evenly
- Allow proper contact time
- Avoid wiping before contact time
- Use appropriate application method
- Monitor for adverse reactions
Memory Aid: DISINFECT
Dilute properly
Identify the microorganism
Select appropriate agent
Inspect for compatibility
Note contact time
Follow safety precautions
Evaluate effectiveness
Clean before disinfecting
Test solution concentration
6. Spaulding’s Principle
Historical Context
Developed by Dr. Earle Spaulding in 1968, this classification system remains the gold standard for determining the appropriate level of disinfection or sterilization based on infection risk.
Spaulding’s Three Categories
Critical Items (High Risk)
Definition:
Items that enter sterile tissue, body cavities, or the vascular system
Examples:
- Surgical instruments
- Cardiac and urinary catheters
- Implants and prosthetics
- Needles and syringes
- Arthroscopes
Processing Required:
Methods:
- Steam sterilization (preferred)
- Ethylene oxide
- Hydrogen peroxide plasma
- Dry heat
- Peracetic acid
Semi-Critical Items (Moderate Risk)
Definition:
Items that contact mucous membranes or non-intact skin
Examples:
- Flexible endoscopes
- Laryngoscope blades
- Vaginal specula
- Anesthesia breathing circuits
- Cystoscopes
Processing Required:
(Sterilization preferred)
Methods:
- Glutaraldehyde
- Hydrogen peroxide
- Peracetic acid
- Orthophthalaldehyde
Non-Critical Items (Low Risk)
Definition:
Items that contact intact skin only
Examples:
- Stethoscopes
- Blood pressure cuffs
- Bedside tables
- Wheelchairs
- Patient monitors
Processing Required:
(Cleaning may suffice)
Methods:
- 70% isopropyl alcohol
- Quaternary ammonium
- Phenolic compounds
- Iodophors
Decision-Making Framework
Spaulding’s Classification Flow
Sterilization required
High-level disinfection
Low-level disinfection
Memory Aid: SPAULDING
Sterile tissue = Critical
Protection level increases with risk
Assess what the item contacts
Understand the three categories
Low risk = Low-level disinfection
Determine processing method
Infection risk guides decision
Non-critical items need less processing
Greatest protection for critical items
7. Nursing Implementation
Nursing Role in Infection Prevention
Nurses are at the forefront of infection prevention. Understanding and implementing proper disinfection and sterilization practices is essential for patient safety and quality care.
Daily Nursing Responsibilities
Routine Practices
- Perform hand hygiene before and after patient contact
- Use appropriate PPE based on transmission precautions
- Clean and disinfect equipment between patients
- Follow proper waste disposal protocols
- Maintain clean work environments
- Document infection prevention activities
Patient Care Activities
- Assess infection risk for each patient
- Implement appropriate isolation precautions
- Educate patients and families about infection prevention
- Monitor for signs of healthcare-associated infections
- Coordinate with infection prevention team
- Advocate for patient safety measures
Equipment-Specific Nursing Protocols
Stethoscope Disinfection
Blood Pressure Cuff Processing
Thermometer Disinfection
IV Poles and Pumps
Special Situations and Nursing Responses
| Situation | Nursing Action | Disinfection Level | Special Considerations |
|---|---|---|---|
| C. difficile isolation | Use sporicidal disinfectant | High-level | Bleach-based products preferred |
| Multidrug-resistant organisms | Enhanced cleaning protocols | Intermediate to high | Extended contact times |
| Immunocompromised patients | Protective environment | High-level | HEPA filtration, positive pressure |
| Surgical site infections | Sterile technique emphasis | Sterilization | All critical items must be sterile |
Quality Assurance and Monitoring
Monitoring Activities
- Regular observation of cleaning practices
- ATP (adenosine triphosphate) testing
- Environmental cultures when indicated
- Compliance audits
- Incident reporting and analysis
- Staff competency assessments
Common Errors to Avoid
- Inadequate contact time for disinfectants
- Using expired disinfectant solutions
- Mixing different chemical agents
- Ignoring manufacturer’s instructions
- Inadequate cleaning before disinfection
- Improper storage of disinfectants
Professional Development
Nurses must stay current with evidence-based practices, participate in continuing education, and contribute to infection prevention initiatives. Remember: infection prevention is everyone’s responsibility, but nurses play a crucial leadership role.
8. Summary and Key Points
Essential Takeaways
Effective infection prevention requires a comprehensive understanding of disinfection and sterilization principles, proper implementation of protocols, and continuous monitoring of practices.
Key Learning Points
Critical Concepts
- Cleaning must precede disinfection or sterilization
- Spaulding’s classification guides processing decisions
- Contact time is crucial for disinfectant effectiveness
- Sterilization is the only method to eliminate all microorganisms
- Environmental factors affect disinfectant performance
Nursing Responsibilities
- Assess infection risk for each patient and situation
- Select appropriate disinfection or sterilization method
- Follow manufacturer’s instructions precisely
- Monitor and document infection prevention activities
- Educate patients and colleagues about best practices
Quick Reference Guide
Critical Items
- • Surgical instruments
- • Cardiac catheters
- • Implants
- Processing: Sterilization
Semi-Critical Items
- • Endoscopes
- • Laryngoscope blades
- • Respiratory equipment
- Processing: High-level disinfection
Non-Critical Items
- • Stethoscopes
- • BP cuffs
- • Bedside tables
- Processing: Low-level disinfection
Final Memory Aid: INFECTION
Identify the risk level
Need determines processing method
Follow Spaulding’s classification
Ensure proper contact time
Clean before disinfecting
Test solution effectiveness
Implement quality monitoring
Observe safety precautions
Never compromise patient safety
Clinical Application
Remember that infection prevention is not just about following protocols—it’s about understanding the science behind the practices and adapting them to real-world situations. Every patient interaction is an opportunity to prevent infection transmission and promote healing.
Infection Prevention: A Nursing Priority
Excellence in nursing care begins with excellence in infection prevention practices.
© 2025 Nursing Study Notes – Educational Content for Professional Development